Why Do 18,000 BTU Mini Splits Almost Always Need 230V?
An 18,000 BTU mini split is a popular size for a larger room, open-plan area, garage, or small home. It can also be a point where shoppers first notice that the electrical requirements change: many 9,000- and 12,000-BTU units are available for 115V outlets, while most 18,000-BTU models call for a dedicated 208/230V circuit.
The short answer is current. At a given amount of electrical power, a 115V appliance needs roughly twice the current of a 230V appliance. Higher current means more strain on wiring and circuit components, so a larger mini split is generally designed to use higher voltage instead. But voltage alone does not tell you how much the unit will cost to run, and “almost always” does not mean “always.” A few 18,000-BTU models may have different electrical requirements, so the unit’s nameplate and installation manual are the final word.
Why Bigger Mini Split Power Usually Means 230V
BTU is a measure of heating or cooling capacity—not the electrical power the mini split consumes. An 18,000-BTU rating describes how much heat the unit can move under specified test conditions. Its electrical input varies with the model, operating speed, outdoor temperature, and whether it is heating or cooling.
The relationship between voltage, current, and power helps explain the common 230V requirement. For a simplified comparison, if two appliances need the same electrical power, the one running at 115V draws about twice the current of the one running at 230V. In actual mini splits, inverter compressors vary their speed, and the precise electrical figures depend on the equipment. Still, the basic tradeoff holds: using 230V can deliver the needed power with less current than 115V.
Lower current can make it more practical to supply a larger compressor without requiring unusually heavy wiring or high-current components. It does not make the system automatically more efficient; efficiency depends on the equipment’s design and operating conditions. The voltage is primarily about delivering the required electrical power within the system’s rated limits.

Mini Split Current Draw: What to Check Before You Buy
When comparing models, look beyond the BTU label and the voltage printed in a product listing. Find the electrical specifications for the exact indoor/outdoor combination you plan to install. Important terms include:
- Rated voltage: The supply voltage the equipment is designed to use. Many larger residential systems are rated for 208/230V.
- MCA (Minimum Circuit Ampacity): A value used to determine the minimum allowable circuit conductor ampacity for the equipment.
- MOCP or maximum fuse/breaker: The maximum overcurrent protection permitted by the equipment instructions. The exact label varies by manufacturer.
- Rated input and operating current: Useful for understanding typical performance, but not a substitute for sizing the circuit according to the nameplate and installation manual.
Do not select wire or a breaker based only on an online estimate of mini split current draw. Circuit sizing depends on the manufacturer’s requirements, wiring method, distance, local electrical code, and other job conditions. Have a qualified electrician verify the circuit. A breaker that is too large is not a safe way to compensate for a wiring problem.
115V Plug-In Convenience vs. 230V Hardwire Costs
A 115V mini split can be appealing when the right receptacle is already nearby and the equipment is specifically designed for that connection. Some smaller systems are sold with a plug, which may simplify the electrical portion of a suitable installation. That convenience does not remove the need to follow the manual, verify the circuit, and meet local code. A standard-looking outlet is not proof that it can safely support a particular unit.
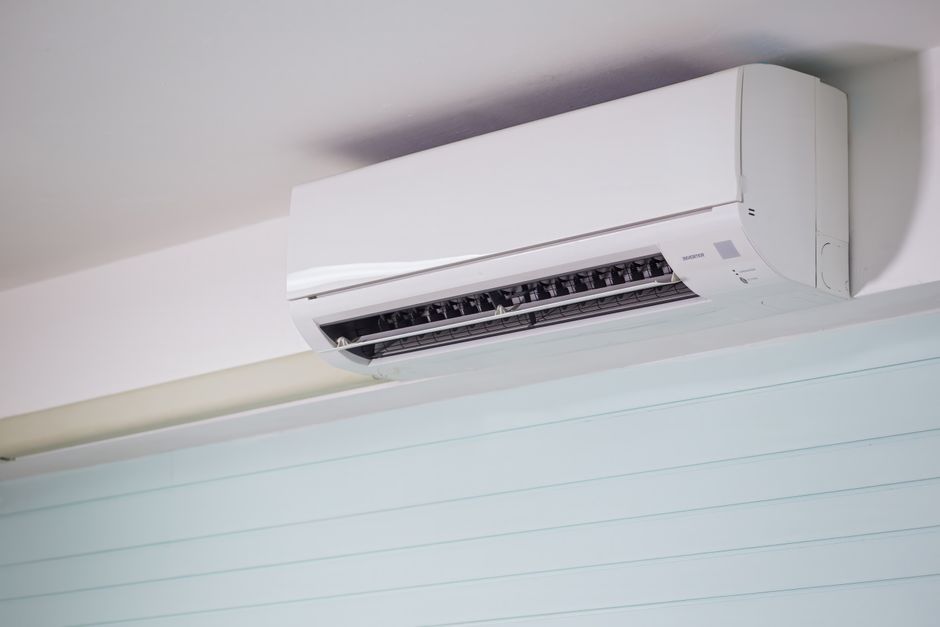
Most 18,000-BTU systems use a 208/230V supply and require a dedicated circuit. If the home already has an appropriately located, properly sized circuit, the added electrical work may be limited. If not, the job may involve new cable, conduit, a disconnect, breaker work, and possibly a longer route from the electrical panel. Those costs vary widely with the home and local labor rates.
So, the real comparison is not simply “plug-in is cheap; hardwire is expensive.” It is whether the house already has the correct electrical service near the equipment. A 115V model that needs a new dedicated circuit may not be cheaper to install than a 230V model. Conversely, a 230V installation can add meaningful cost if the panel is far away or needs an upgrade. Get the electrical requirements and a site-specific quote before choosing based on voltage alone.
Cold-Climate Ratings and Capacity Drop
For a heating application, the published 18,000-BTU rating does not necessarily mean the system will deliver 18,000 BTU in every winter condition. Heat pump output changes as outdoor temperatures fall. Some systems lose a substantial portion of their heating capacity in colder weather, while cold-climate models are engineered to maintain useful output at lower temperatures.
When comparing units, check the manufacturer’s heating capacity data at the outdoor temperatures that matter for your location—not just the headline BTU figure or a single rating-point efficiency number. Also check the system’s minimum operating temperature and whether supplemental heat may be needed. A model that looks large enough on a general sizing chart could still fall short on a very cold design day.
Voltage is not a shortcut for judging cold-weather performance. A 230V connection does not guarantee better low-temperature heating, and a 115V model is not automatically inadequate. The compressor, refrigerant circuit, controls, defrost strategy, and capacity tables matter. Choose the system based on the heating load and its published performance in your climate.
True DIY vs. Flare Install Reality
Mini split installation is often advertised as DIY-friendly, but “DIY” can describe different levels of work. Some systems use precharged line sets or special connectors intended to simplify refrigerant-side work. Others require the installer to cut and flare copper tubing, connect the lines, pressure-test the system, evacuate the lines, and release the factory refrigerant charge according to the manufacturer’s procedure.
A conventional flare installation requires careful, clean workmanship. Poorly made or improperly tightened flares can leak. A system may appear to run at first and still lose refrigerant later, which can reduce performance and damage equipment. Line length, elevation changes, insulation, condensate routing, and outdoor-unit placement also affect the quality of the job.
For systems that require evacuation, the installer typically uses a Vacuum pump and Manifold gauges or other suitable service instruments, following the manufacturer’s specified process and target. These tools are not decorative add-ons: they are used to prepare and verify the refrigerant piping. The exact instruments and procedure can vary by system.
DIY convenience does not override electrical code or refrigerant rules. Local requirements, warranty terms, and who may legally perform specific work vary. Read the installation manual before buying, and be realistic about the skills, tools, permits, and time needed. If you are not confident making and testing refrigerant connections or completing the electrical work safely, hire qualified help for those parts.
Zone Air vs. MRCOOL: Comparing Value and Features
Zone Air and MRCOOL are two brands buyers may encounter while comparing ductless systems, including DIY-oriented options. A useful comparison should focus on the exact model and what comes in its package—not just the brand name or advertised BTUs.
- Installation approach: Confirm whether the model uses standard field-flared connections, a special precharged line set, or another connection method. Check what work the manufacturer expects the installer to perform.
- Included components: Compare line-set length, remote or controls, mounting hardware, communication cable, and any other included parts. A lower advertised price may not include everything required for your layout.
- Performance: Compare cooling and heating capacity, efficiency ratings, cold-weather capacity data, and operating limits for the specific equipment combination.
- Support and warranty: Review warranty conditions, registration requirements, parts availability, and what happens if professional installation is required for coverage.
- Electrical fit: Check the rated voltage, MCA, and maximum permitted breaker or fuse for the exact model. Do not assume two units with the same BTU rating share the same requirements.
MRCOOL is commonly considered by shoppers looking for a more DIY-oriented installation experience, but the details depend on the particular product line and its included connection system. Zone Air may be attractive to buyers weighing direct pricing and equipment features. The right value depends on the complete installed cost: equipment, line set, electrical work, tools, permits, and any professional labor—not the price tag by itself.
For a realistic price reference, Zone Air 12,000 BTU single zone typical price: ~$1,999 direct. That is an example, not a quote for every package or installation. Prices and included accessories can change, and an 18,000-BTU system may have a different equipment price and electrical scope.
Is an 18,000-BTU 230V Mini Split Right for Your Job?
An 18,000 BTU 230V system may be a good fit when the heating and cooling load supports that capacity and the electrical service can accommodate the installation. It may be oversized for a small, well-insulated room, while an open or poorly insulated area may need careful load calculation rather than a simple square-foot rule. Oversizing can contribute to less comfortable temperature control, so bigger is 115v mini split for shed not automatically better.
Before purchasing, use this checklist:
- Size the system for the actual heating and cooling load, including insulation, windows, air leakage, ceiling height, and climate.
- Check model-specific heating capacity at cold outdoor temperatures if winter heating is important.
- Read the electrical nameplate and installation manual for voltage, MCA, and maximum overcurrent protection.
- Confirm whether the refrigerant connections are flare-type or designed for a simplified DIY connection, and identify the required tools and procedures.
- Estimate the full installed cost, including any new 230V circuit, disconnect, line-set materials, tools, permits, and labor.
- Compare warranty conditions and support for the exact product, not just the brand.
The Bottom Line
Most 18,000-BTU mini splits use 230V because larger systems need more electrical power, and higher voltage lets them deliver that power with less current than a comparable 115V design. That is why bigger mini split power usually comes with a dedicated 208/230V circuit rather than a standard plug-in connection.
But the voltage is only one part of the decision. Verify the unit’s actual electrical requirements, consider cold-weather capacity, understand whether the install is truly DIY or requires careful flare work, and compare the full installed price. Whether you choose Zone Air, MRCOOL, Senville, or another manufacturer, select the specific model that fits the load, the climate, the electrical service, and your installation plan.